I wanted to write a blog post today about tanning for competition.

It’s something that I knew absolutely nothing about when I did my first Figure competition last October and although I don’t claim to be an expert on the subject, I have learned a few things about tanning since then that I hope some of you will find helpful.
There are a number of different brands of tanning products on the market, the major ones are Jan Tana, Pro Tan and Dream Tan.
After doing some research on other people’s experience with each different brand I decided to go with either Jan Tana or Pro Tan. As it turned out, Jo Rogers from Style on Stage, who made my beautiful posing suit for me, sold Jan Tana tanning products through her online store, so that’s the brand I went with in the end.
As a result, in this blog post I’m going to be discussing tanning with their products, since that’s what I’ve used for all my shows.
The main reason I chose not to go with Dream Tan is that I read from a few people that it’s a little messy, and I’ve since learned why. Dream Tan is actually a petroleum oil-based product, whereas Jan Tana products are water based.
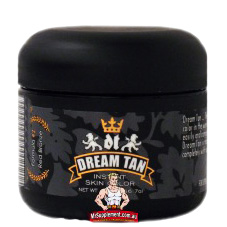
Both types have their advantages and disadvantages.
Dream Tan never quite dries, so once you have it on you have to avoid touching or rubbing against anything or it will smear. At one of the shows I competed in in March, the competition rules clearly said No Dream Tan, in bold writing.
According to Jo Rogers, the IFBB Australia frowns upon Dream Tan because it makes such a mess. And I can attest to that, backstage at any show you’ll see piles of tissues everywhere covered in brown smears of Dream Tan. Clearly, a lot of competitors use it regardless.
But on the plus side for Dream Tan, I have to say that it really looks awesome. It produces a deep, chocolate brown tan that can almost seem scary how dark it is, but it looks great on stage.
Unlike Dream Tan, Jan Tana tan does dry completely so there’s no problem with smearing – you can touch pretty much anything with it without any problems. And because it’s water-based, it washes off and out of clothing very easily.
The one thing you need to avoid with Jan Tana tan is getting it wet. If you sweat heavily or spill water on it, it will run instantly. With a little practice you can touch it up fairly easily however. I personally hardly ever sweat so I found Jan Tana perfect for me.
OK then, so on to the procedure for applying a Jan Tana tan. Well, the whole process actually starts a week out from the show, with the skin preparation phase.
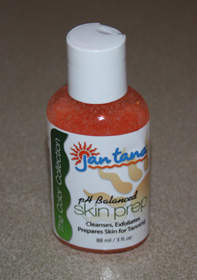
Over the seven days leading up to the show, you need to exfoliate your entire body, including your back, 4 to 7 times (on different days) with Jan Tana Skin Prep. This removes all the dead skin built up on your body and also balances your skin pH. I’ve read that if your skin is too acidic it can cause your tan to take on a greenish tinge.
Over this week you also need to moisturize your skin thoroughly each day to make sure you’ll get a smooth and even absorption of the tan when you apply it. It’s especially important to moisturize your knees, elbows, hands and feet since you’ll find that these parts absorb the most color.
Jan Tana makes a moisturizer to use for this but I just always used my own moisturizer.
Next comes the color application phase, which starts the night before the show. The process for applying the color I actually got from the website of a salon here in Sydney that provides a tanning service for competitors. I eventually ended up changing it however, as I’ll soon explain.
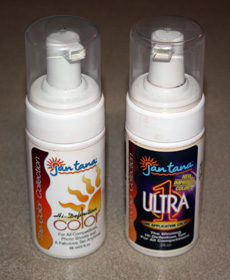
Jan Tana makes two color products, High Definition Color and Ultra 1. High Definition color is meant to be applied in several coats, whereas Ultra 1 is a very fast-drying dark color that’s intended to be applied in a single coat on the day of the show.
Both of these are applied by wiping them on using an applicator pad, which is supplied with the product.
Following the instructions I read online, I applied 2 coats of High Definition Color on the night before the show, and a final coat of Ultra 1 on the morning of the show.
It’s very important to wait 1 to 2 hours between coats to allow for enough drying time, so be sure to leave yourself plenty of time when applying your color. If you apply an additional coat too soon, the previous coat starts to smear and you get dark streaks and patches that take time and patience to touch up.
When I was applying my tan for my third Figure competition, I unexpectedly ran out of Ultra 1, so I was forced to use High Definition Color for my third coat on the morning of the show. I was worried that my tan wouldn’t be dark enough but surprisingly it was, and as an added bonus I actually found it looked better.
The Ultra 1 I found added a reddish tinge to my tan which I wasn’t all that fond of to be honest, but using just High Definition Color my tan became much more brown in color and just as dark.
So for my last Figure competition (my fourth), I again used just High Definition Color, 2 full coats and 1 partial coat the night before, and another partial coat on the morning of the show.

The final 2 coats are partial coats because some areas of my body absorb the color very well, and so end up only needing 2 coats, whereas others don’t, and end up needing 4 coats, plus additional touch ups as well. You’ll quickly learn what works best for your skin.
For my next show I might try for 3-5 coats rather than 2-4, or who knows, I may even give Dream Tan a go!
With regards to tanning your face and neck, generally speaking you don’t. For my first show I didn’t know this and I put a coat of tan on my face and neck, and ended up looking, well . . . ridiculous. I looked like a kid who just came from playing in the dirt.
Fortunately we were able to wipe it off right away with a wet cloth and it actually left a lovely subtle and even tan which I could then build on with makeup.
I’ve since learned that you generally use makeup only for your face and neck for competitions. You just make them as dark as you like to match your tan, although not as dark as your tan.
Another important point to be aware of is tanning your hands, feet, elbows and knees. These areas of your body generally absorb tan very quickly and so often only need just a single coat.
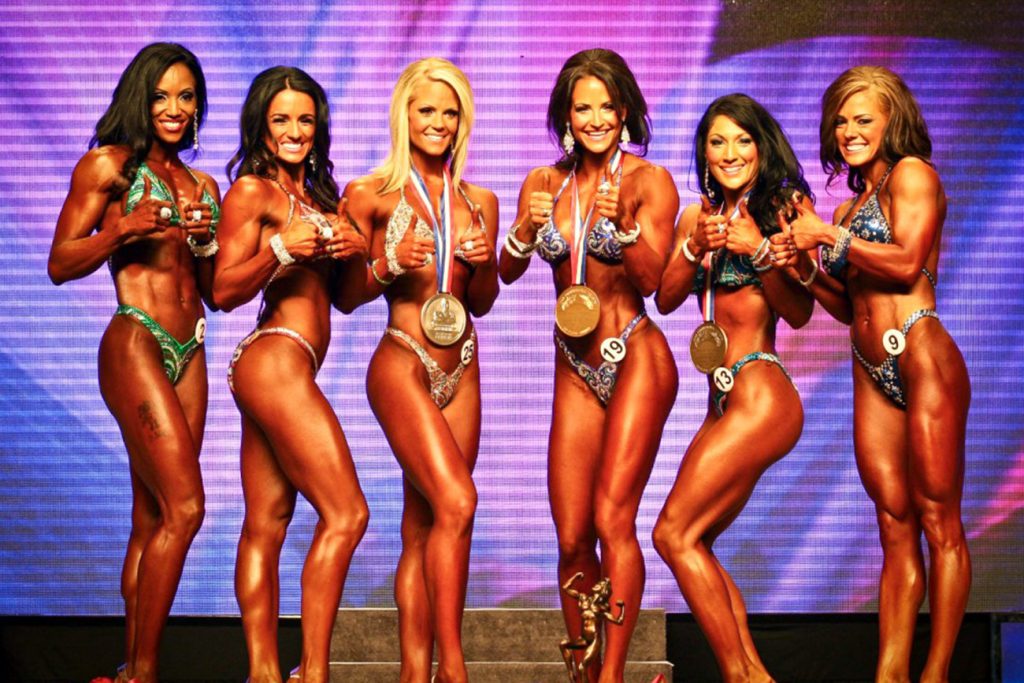
When you’re new to tanning for competition you can easily get the impression that you’ve overdone your tan. I did for my first show. I thought I looked a bit silly because I was way too dark. But when I got to the show I thought different, there were plenty of women way darker than me.
The lighting can also have a huge effect on how you look in your tan. In one room you can look ridiculously dark, yet great in another room. I’ve seen women who look shockingly dark backstage but I have never seen anyone look too dark on stage where the lighting is good.
That’s why when you’re doing your makeup it’s important to do it under good lighting. Because the lighting on stage is always strong you don’t want to go out there looking too pale.
The finishing touch to your competition tan is to apply Jan Tana Glaze, just before you take the stage. The competition tan makes your skin look very matte and dry, and the Glaze gives it a beautiful shimmer that really makes your physique pop.
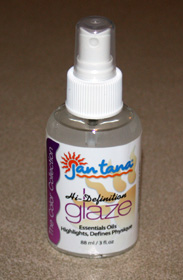
To apply the glaze you just squirt a small amount into the palm of your hand, rub your hands together and wipe it over your entire exposed skin. You don’t need very much, a small amount goes a long way, so don’t overdo it or you will start looking oily rather than shimmery.
The glaze you need to apply just before each time you go on stage.
So that’s it! That’s the art of applying a competition tan using Jan Tana products. If I decide to use Dream Tan at some time in the future I’ll be sure to make another blog post to talk about what I learn from using that product.
Just a final note – throughout this description I’ve referred to “you” applying tan and glaze, but realistically they both need to be applied by another person. It’s not really possible to apply either, especially the tan, evenly and properly on your own.
So find yourself a good assistant, put an old towel on the ground, get under some good, strong lighting and go for it!
Have fun!!


1 Comment
Thank you so much for sharing your experience. Your tips were really helpful.